Turn Your Own Short Video into an Animated GIF: Clip, Palette and Size Checks
Make an animated GIF from your own local video with FFmpeg. Choose a short excerpt, create a palette, and check the result before sharing.
To turn your own short video into an animated GIF, select a local excerpt in FFmpeg, build a palette from that clip, then apply the palette and check the exported animation.
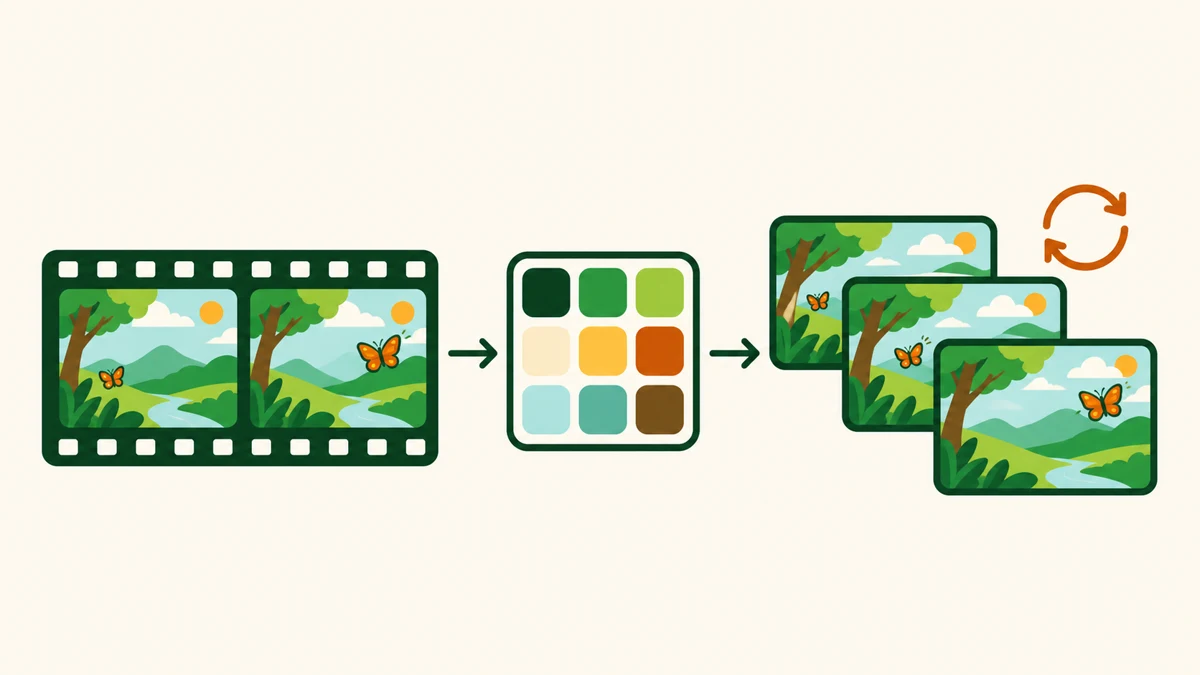
A short animation can make a gesture or movement easier to see without opening a video player. This guide uses a local file you own to make an animated GIF, keep your original intact, and check the output before sharing.
Open the Video to GIF converter to trim and crop a local MP4, preview the GIF and check its file size in your browser.
Choose a short owned local excerpt
Choose a clip you made or have permission to adapt. Open it in a player and find the part that explains the action. A hand pointing at a control may need two seconds. If the viewer must hear an explanation, keep the original video as a separate option.
Write down the start position and the length you want. In the example, -ss 0.5 starts half a second into the source and -t 2 takes about two seconds. Check that the range fits within your file. If it ends near a cut, preview both sides of the cut before deciding whether to include it. When you want an unobtrusive loop, choose a start and end with similar framing.
This guide starts with a local video. A GIF-style X post is a separate workflow with its own source format and permissions.
Set dimensions and frame rate deliberately
Start small enough for where the GIF will appear. The example uses scale=320:-1 to make the image 320 pixels wide and calculate the height from the source proportions. At its intended display size, check whether the important motion and any on-screen text are clear.
The fps=10 filter uses ten frames per second for the output. A lower rate can reduce the number of frames, but the viewer may miss a quick movement. If the GIF needs to fit a size limit, start by removing time before or after the useful action. If it is still too large, try a smaller width or lower frame rate and compare. File size depends on the frames and their colors, so measure it after each export.
Generate and apply a palette with FFmpeg
Run both commands in the folder with your source, using a name that matches the file. The first pass runs palettegen on the selected, scaled frames to make a palette for this excerpt.
ffmpeg -n -ss 0.5 -t 2 -i source.mp4 -vf 'fps=10,scale=320:-1:flags=lanczos,palettegen' -frames:v 1 palette.png
The second pass runs paletteuse with those same frames and the palette image. It sends only the resulting video to the GIF file. The GIF does not carry an audio track, and the original video retains its audio.
ffmpeg -n -ss 0.5 -t 2 -i source.mp4 -i palette.png -filter_complex '[0:v]fps=10,scale=320:-1:flags=lanczos[v];[v][1:v]paletteuse[g]' -map '[g]' -an -loop 0 preview.gif
The GIF muxer options document -loop 0 for continuous looping. The viewer decides how the loop is displayed. Both commands use -n to prevent overwrites. If experimenting, choose new names for the palette and GIF and update the second pass to use the matching palette. Quote filenames if they contain spaces.
Verify animation, duration, size and the absence of audio
Open the GIF to check that the complete action plays, the loop does not jump unexpectedly, and the important details are still visible. Preview it in the destination application if possible. Use this optional read-only probe to confirm the output dimensions, duration, decoded frames and byte size.
ffprobe -v error -count_frames -show_entries 'stream=codec_name,codec_type,width,height,nb_read_frames:format=duration,size' -of json preview.gif
In our local synthetic test, the GIF had one video stream, measured 320 × 180 pixels and 2.000 seconds, and contained 20 decoded frames. It was 178,990 bytes. The source was a generated test pattern with an audio tone. The article illustration explains the steps and does not show this test pattern.
If a destination refuses the file, compare its published size and format requirements with the actual output. Make one change at a time, rerun both passes, and check the new file. If its colors make details hard to read, compare the GIF with your original before lowering the width further.
Key takeaways
- Choose the start time and duration before building the palette.
- Use the same clip, scale and frame rate in both passes.
- Check the animation and its size in the application where people will see it.
Conclusion
Keep the video as your source. Use the GIF where the destination calls for animation, and keep the size and playback you actually verified.
FAQ
Can I make the GIF smaller without changing its duration?
Try a smaller width or lower frame rate, regenerate the palette, and measure the new GIF. Check that the motion and text are still legible at the intended display size.
Can I keep the sound in an animated GIF?
An animated GIF does not contain audio. Keep the video when narration, music, or other sound is part of the content.
Why does the GIF look different from the source?
The palette limits the colors that can be shown, and scaling or a lower frame rate can remove detail. Compare the exported animation with the original at the size people will see.
Related pages
4K Video Downloader Plus License Key: Purchase Recovery
Recover a purchased 4K Download license through the official purchase-email form, distinguish retrieval from activation, and prepare a private support record.
Is JDownloader Safe? Verify the Installer Source and Digital Signature
Check a JDownloader installer through its official source and digital signature. Understand what these checks show, their limits, and when to stop before setup.
KICK Clip Downloader Guide: Native MP4 and File Checks
Use KICK’s documented clip-page download route, keep clips distinct from full VODs, and check the MP4 file before relying on it.
Save a Permitted LinkedIn Video: Check the Link, File and Sound
A bounded workflow for checking a public LinkedIn video you have permission to save, then checking the downloaded file and its audio.